A good friend of mine has been making these beautiful and tasty sourdough bread for a while and I've been enamoring with the idea of making one myself! I tried making a sourdough starter at home, and even though I had some success in the beginning, for whatever reason they all seemed to die at some point and I would lose the motivation to keep up with it. So recently I visited her, and she gave me a one-on-one lesson on sourdough bread making, and gave me a starter to get started!!! :-D
If you want to learn from the expert, please leave this post right now and go check out her blog: Eat Bread With Me, her breads are BEATUFITUL and I can testify they taste AMAZING as well!!
If you want to learn from the expert, please leave this post right now and go check out her blog: Eat Bread With Me, her breads are BEATUFITUL and I can testify they taste AMAZING as well!!
Because this sourdough bread making is a little complicated, I'll try to break down the process step by step!
To make your own starter I found this easy youtube video explaining it: How to make a sourdough starter.
Once you have the "mother starter" you can begin the process.
STEP 1 (STARTER):
50g starter
75g water
25g Whole Wheat Bread Flour
50g White Bread Flour
Total: 200g
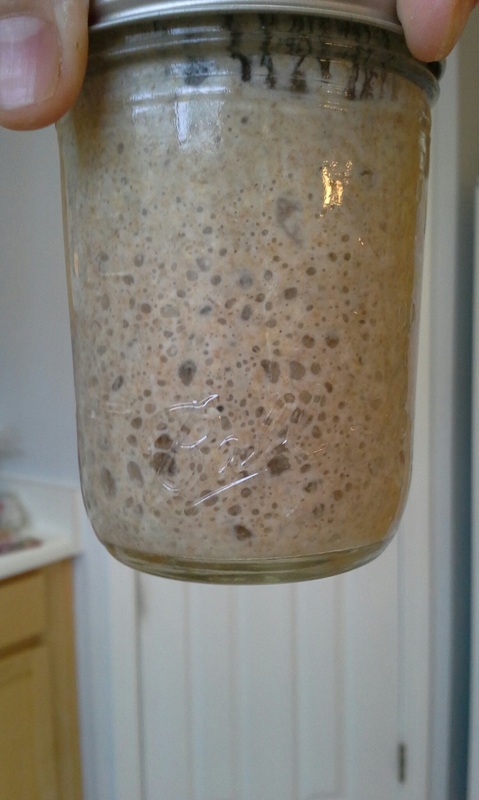
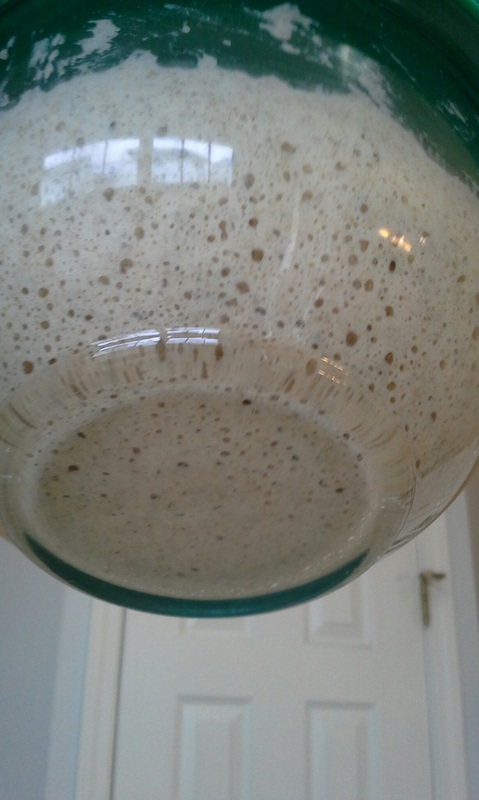
Mix all these ingredients with a wood spoon, cover it and leave it overnight 6-8 hours until bubbly. Look photo below for reference:
To make your own starter I found this easy youtube video explaining it: How to make a sourdough starter.
Once you have the "mother starter" you can begin the process.
STEP 1 (STARTER):
50g starter
75g water
25g Whole Wheat Bread Flour
50g White Bread Flour
Total: 200g
Mix all these ingredients with a wood spoon, cover it and leave it overnight 6-8 hours until bubbly. Look photo below for reference:
STEP 2 (AUTOLYSE):
In a seperate bowl mix
In a seperate bowl mix
- 320g water
- 500g flour (60g whole wheat flour, 440g white bread flour) -can add less flour for softer dough, 480g.
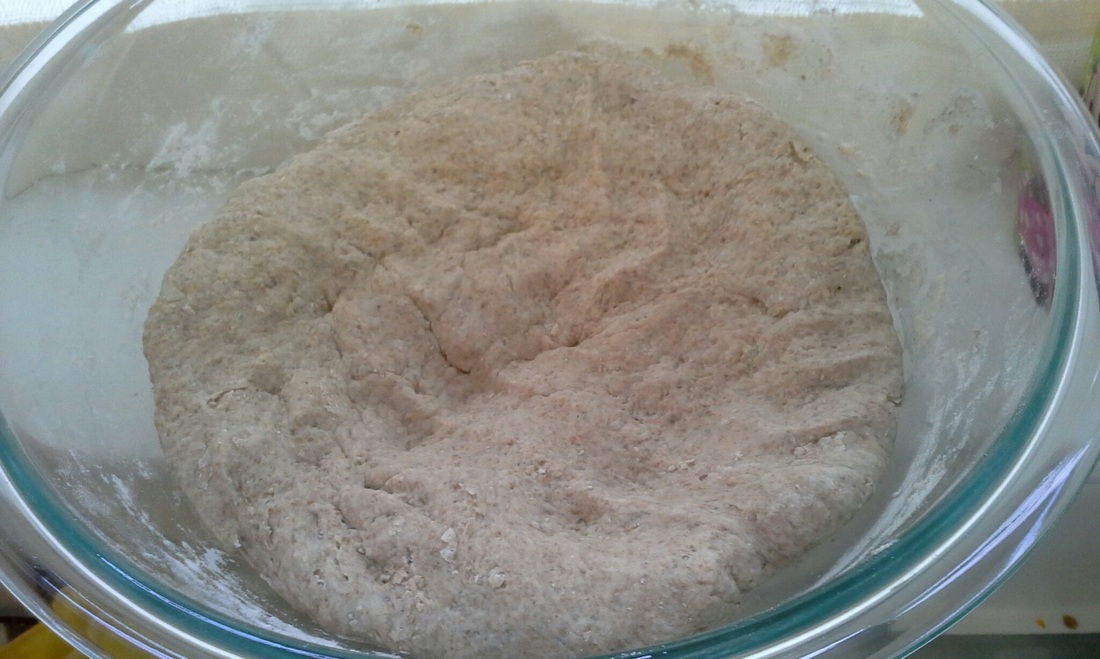
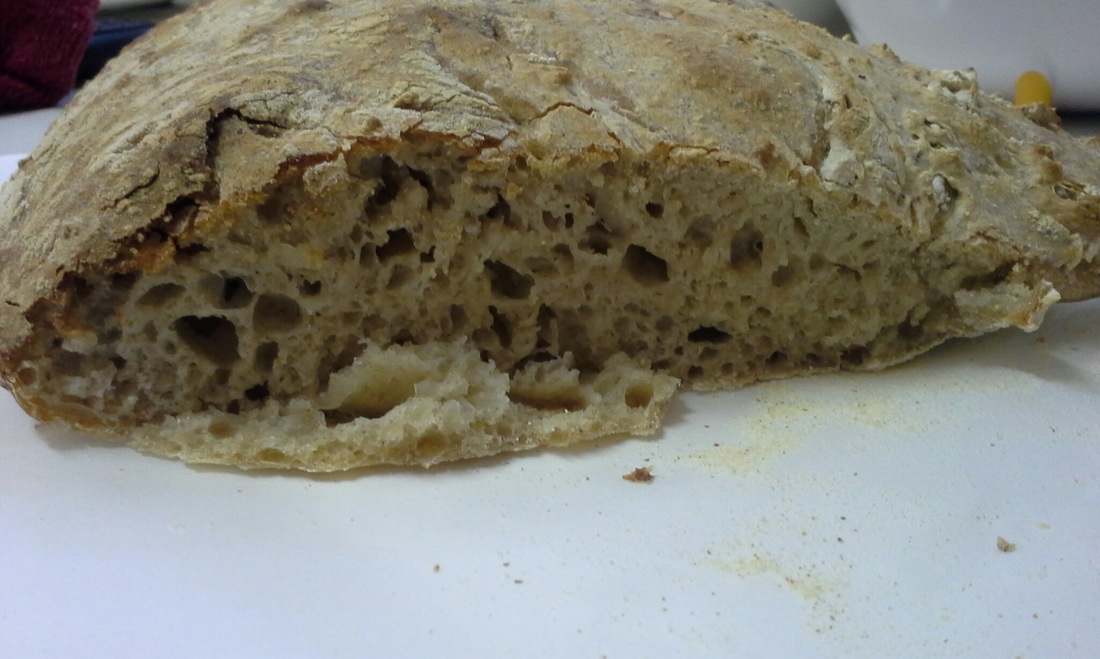
First time I made this bread, I messed up on this step 2! I don't know why I didn't think to use my hands to mix the dough, and thought it was way too dry. So I added more water, and it became WAY too watery! So my bread turned out more like a flat bread. Look below:
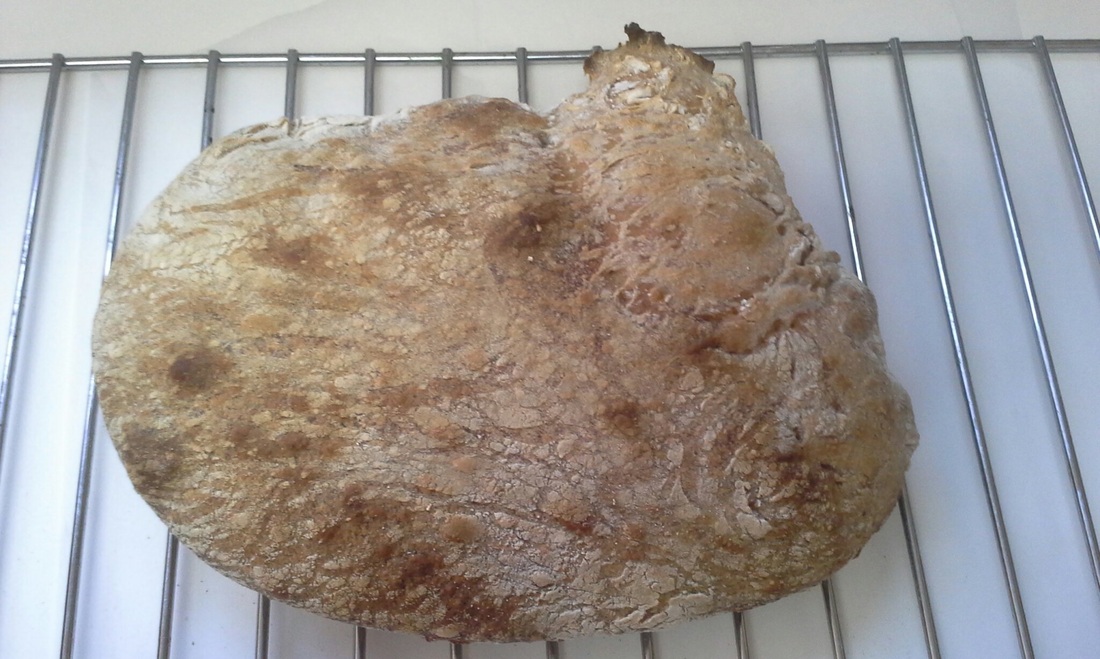
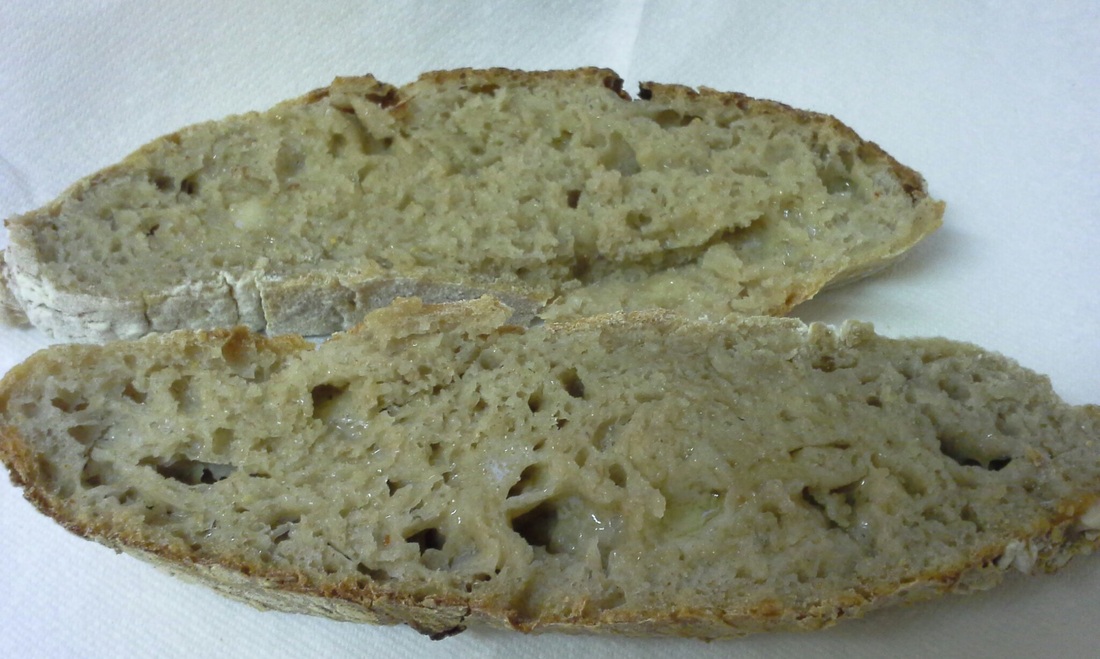
But even as a "flatter bread" it tasted awesome! Everyone who ate it, loved it! And it got some really nice holes inside.
STEP 3 (MIX AUTOLYSE WITH STARTER):
For this step you simply mix the autolyse mixture from step 2 with the starter from step 1. Also add 10g of sea salt. Get your hands dirty!!! Knead dough for about 8 minutes. I have to admit that I have not done it this long...which I probably should, and maybe I'll get an even better result!
For this step you simply mix the autolyse mixture from step 2 with the starter from step 1. Also add 10g of sea salt. Get your hands dirty!!! Knead dough for about 8 minutes. I have to admit that I have not done it this long...which I probably should, and maybe I'll get an even better result!
STEP 4 (STRETCH AND FOLD):
Here is a quick video explaining how to do this part: strech and fold
STEP 5 (SHAPING):
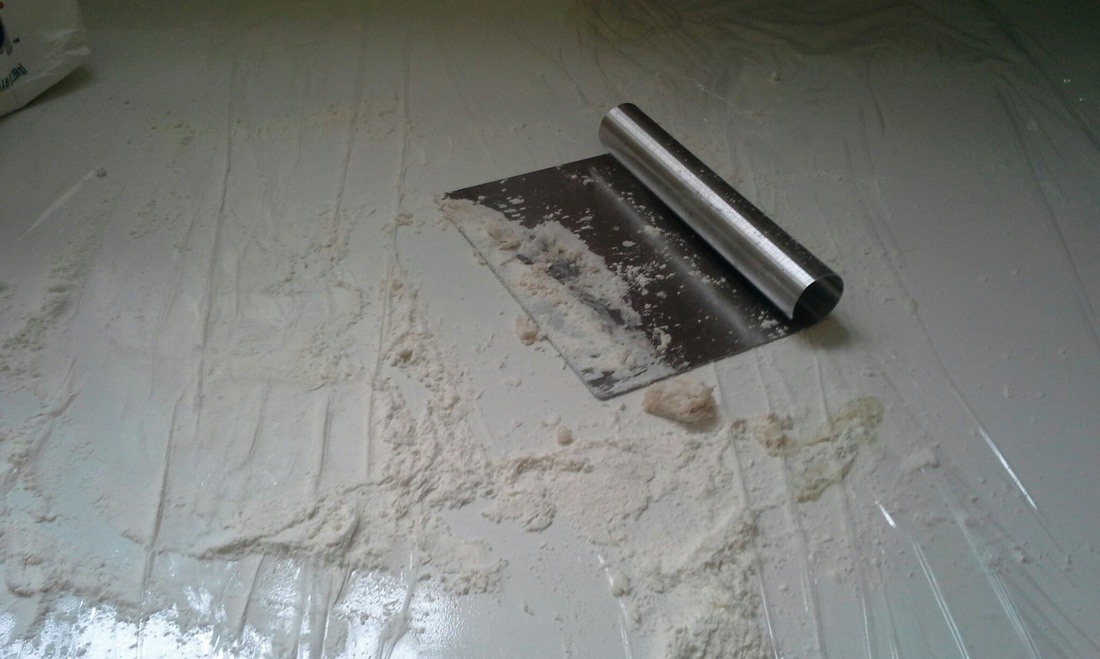
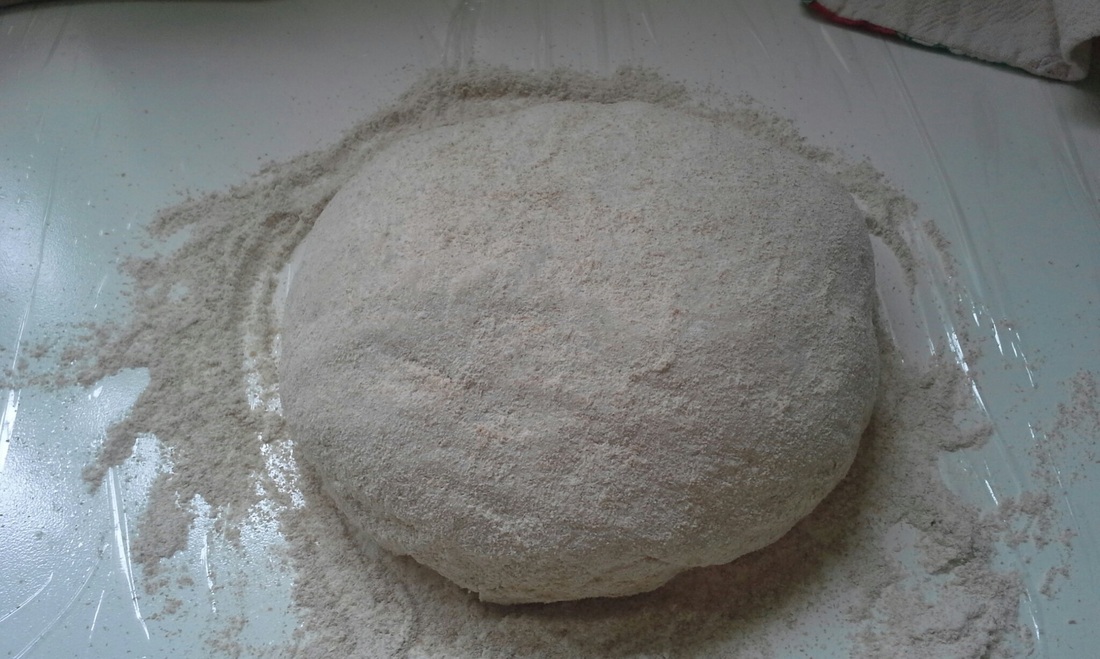
For this process I covered my kitchen counter with plastic wrap.
Covered surface with flour and my hands.
Placed dough on surface, and used that handy little tool (below) to pull sides of dough and fold on top of dough. Did this for all sides, flipped the dough upside down and placed inside a bowl that had a cotton cloth inside, with LOTS of RICE FLOUR covering the cloth. This is done to prevent dough from sticking to the cloth.
This is a neat video on shaping: >here<
NOTE: I've done this bread three times so far, and I can tell you that none of the times they look like the ones you see on youtube, or even the one my friend made at her house. I don't know if it's because I use ground rye flour in my mixture, and a bigger ratio of whole wheat, but it never looks as smooth and "doughy" as the ones you see on these videos. But they still turn out tasting great! So don't worry too much if your dough doesn't look "right"...wait until it's done to figure that out!
Here is a quick video explaining how to do this part: strech and fold
- Basically you want to wet your hands and stretch each side of the dough and fold on top of the dough.
- Stretch and fold 2-3 times and leave 30-60 minutes between each stretch and fold.
STEP 5 (SHAPING):
For this process I covered my kitchen counter with plastic wrap.
Covered surface with flour and my hands.
Placed dough on surface, and used that handy little tool (below) to pull sides of dough and fold on top of dough. Did this for all sides, flipped the dough upside down and placed inside a bowl that had a cotton cloth inside, with LOTS of RICE FLOUR covering the cloth. This is done to prevent dough from sticking to the cloth.
This is a neat video on shaping: >here<
NOTE: I've done this bread three times so far, and I can tell you that none of the times they look like the ones you see on youtube, or even the one my friend made at her house. I don't know if it's because I use ground rye flour in my mixture, and a bigger ratio of whole wheat, but it never looks as smooth and "doughy" as the ones you see on these videos. But they still turn out tasting great! So don't worry too much if your dough doesn't look "right"...wait until it's done to figure that out!
STEP 6 (BULK FERMENTATION):
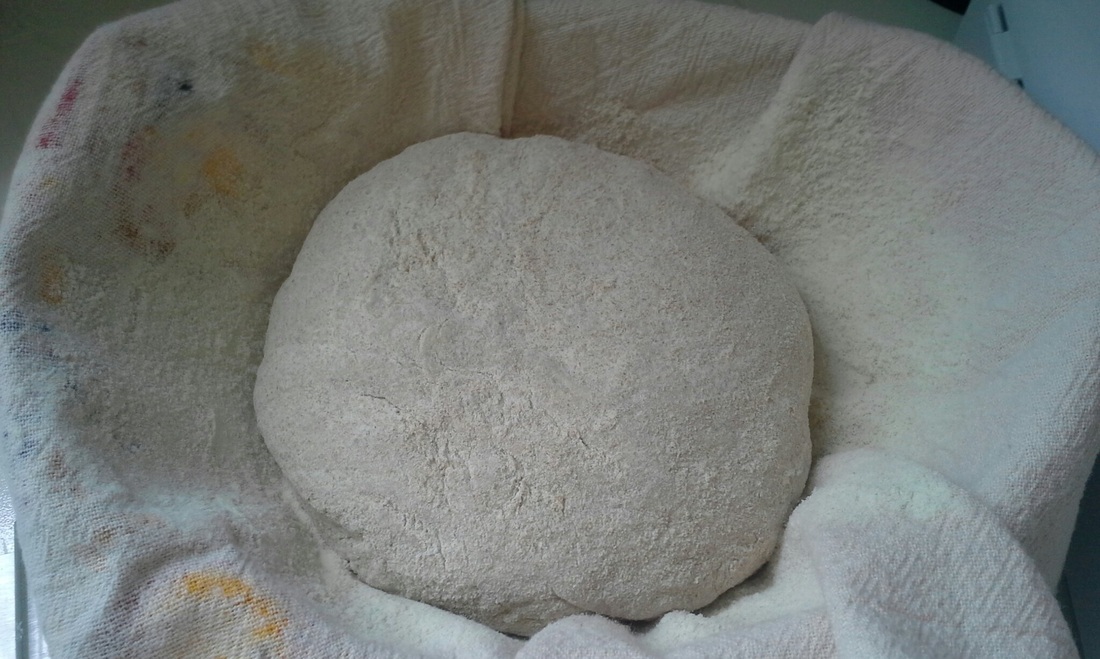
Once bread is shaped, placed in a bowl covered with a cloth towel (that was covered with rice flour as seen on the photo above). You place your bowl uncovered, inside a plastic bag and tie it so that the top of your dough won't harden.
Once bread is shaped, placed in a bowl covered with a cloth towel (that was covered with rice flour as seen on the photo above). You place your bowl uncovered, inside a plastic bag and tie it so that the top of your dough won't harden.
- You can leave it outside up to 6 hours OR in fridge up to 4 days
- Minimum time outside is when it doubles its size, and when you press with your finger, dough bounces back!
- Minimum time outside is when it doubles its size, and when you press with your finger, dough bounces back!
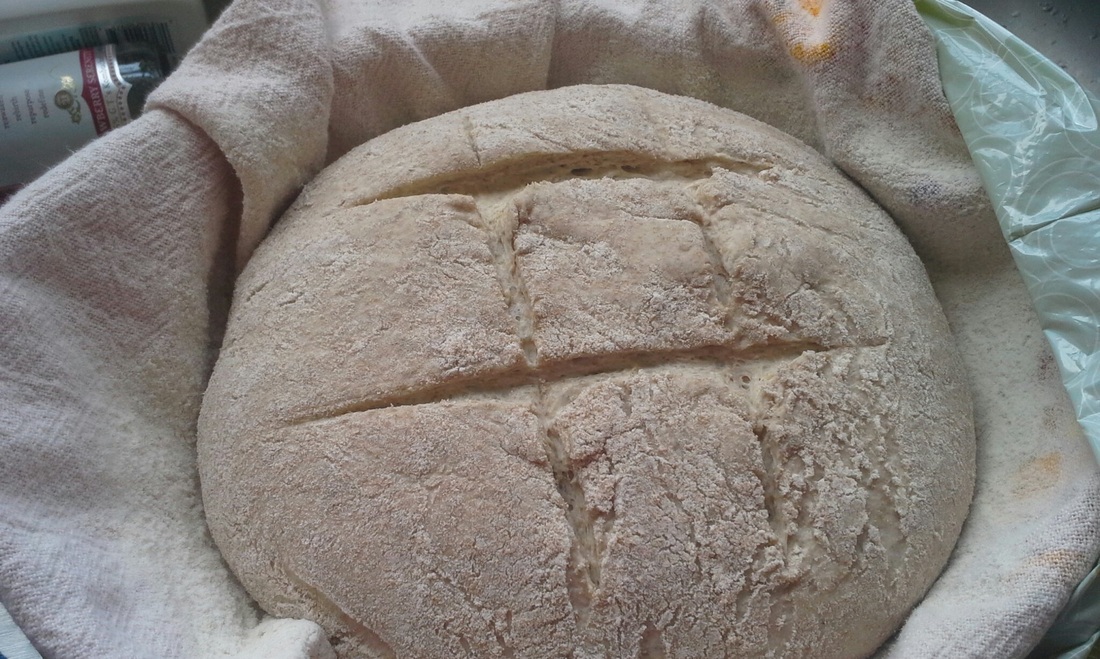
STEP 7 (FINAL STEP-READY TO BAKE!!!):
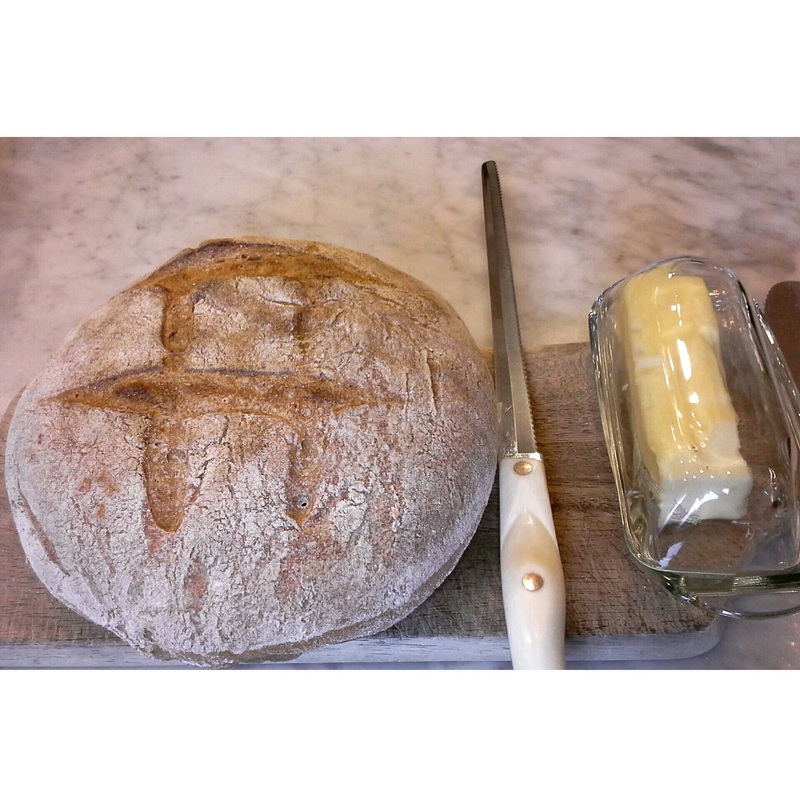
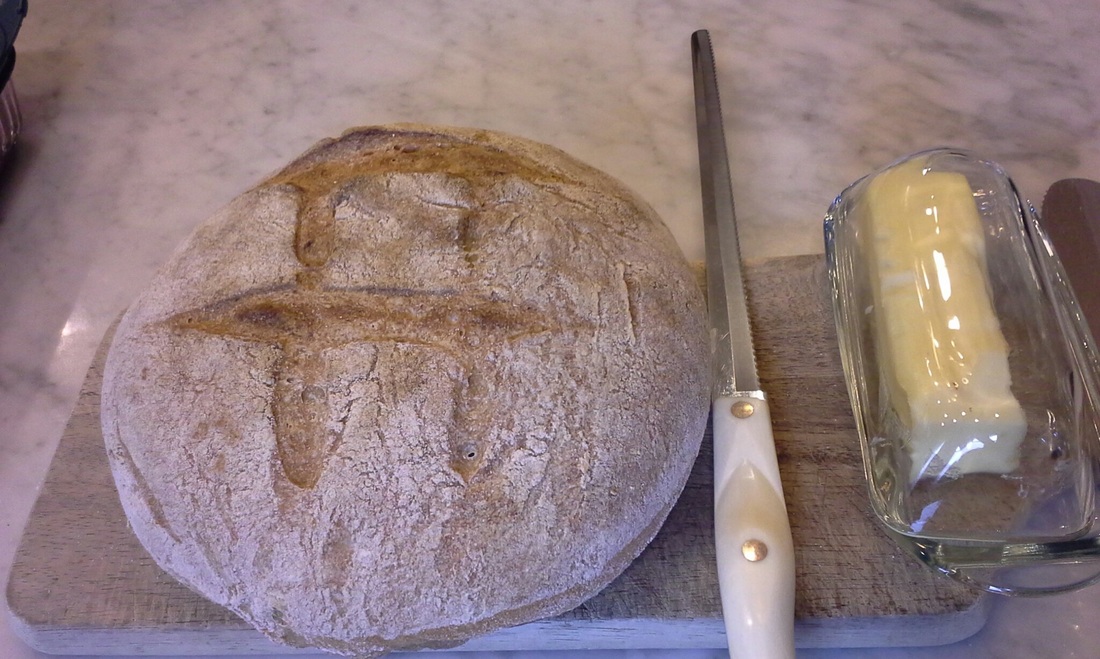
- Score the bread with a sharp blade or knife the way you like it (mine above).
- Pre-heat oven to 510 F then lower to 450F when ready to place bread in oven.
- Add an oven-safe container with about 1/2 cup of water on lower rack of oven.
- Place bread on a pizza tray and put it on middle rack.
- Add few sprays of water on top of bread...or sprinkle with hands.
- Cook for about 15 minutes with water inside, then remove container with water from oven, and turn bread around inside the oven, so it can cook evenly on all side.
- Remove when it looks golden and ready...another 15-20 minutes.
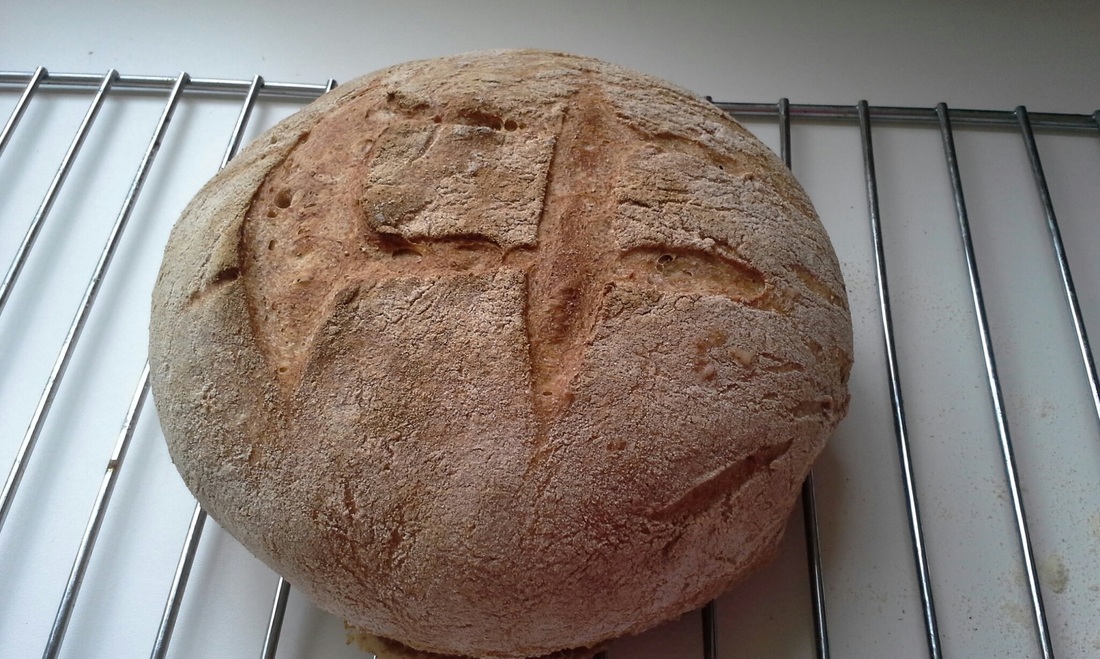
For more information on sourdough bread, be sure to check out Eat Bread With Me!
ALL STEPS AT GLANCE
STEP 1 (STARTER):
50g starter
75g water
25g Whole Wheat Bread Flour
50g White Bread Flour
Total: 200g
Mix all these ingredients with a wood spoon, cover it and leave it overnight 6-8 hours until bubbly.
STEP 2 (AUTOLYSE):
In a seperate bowl mix
STEP 3 (MIX AUTOLYSE WITH STARTER):
For this step you simply mix the autolyse mixture from step 2 with the starter from step 1. Also add 10g of sea salt. Get your hands dirty kneading the dough!!! About 8 minutes.
STEP 4 (STRETCH AND FOLD):
Here is a quick video explaining how to do this part: strech and fold
STEP 5 (SHAPING):
For this process I covered my kitchen counter with plastic wrap.
Covered surface with flour and my hands.
Placed dough on surface, and used that handy little tool (below) to pull sides of dough and fold on top of dough. Did this for all sides, flipped the dough upside down and placed inside a bowl that had a cotton cloth inside, with LOTS of RICE FLOUR covering the cloth. This is done to prevent dough from sticking to the cloth.
This is a neat video on shaping: >here<
STEP 6 (BULK FERMENTATION):
Once bread is shaped, placed in a bowl covered with a cloth towel (that was covered with rice flour as seen on the photo above). You place your bowl uncovered, inside a plastic bag and tie it so that the top of your dough won't harden.
You can leave it outside up to 6 hours OR in fridge up to 4 days
STEP 1 (STARTER):
50g starter
75g water
25g Whole Wheat Bread Flour
50g White Bread Flour
Total: 200g
Mix all these ingredients with a wood spoon, cover it and leave it overnight 6-8 hours until bubbly.
STEP 2 (AUTOLYSE):
In a seperate bowl mix
- 320g water
- 500g flour (60g whole wheat flour, 440g white bread flour) -can add less flour for softer dough, 480g.
STEP 3 (MIX AUTOLYSE WITH STARTER):
For this step you simply mix the autolyse mixture from step 2 with the starter from step 1. Also add 10g of sea salt. Get your hands dirty kneading the dough!!! About 8 minutes.
STEP 4 (STRETCH AND FOLD):
Here is a quick video explaining how to do this part: strech and fold
- Basically you want to wet your hands and stretch each side of the dough and fold on top of the dough.
- Stretch and fold 2-3 times and leave 30-60 minutes between each stretch and fold.
STEP 5 (SHAPING):
For this process I covered my kitchen counter with plastic wrap.
Covered surface with flour and my hands.
Placed dough on surface, and used that handy little tool (below) to pull sides of dough and fold on top of dough. Did this for all sides, flipped the dough upside down and placed inside a bowl that had a cotton cloth inside, with LOTS of RICE FLOUR covering the cloth. This is done to prevent dough from sticking to the cloth.
This is a neat video on shaping: >here<
STEP 6 (BULK FERMENTATION):
Once bread is shaped, placed in a bowl covered with a cloth towel (that was covered with rice flour as seen on the photo above). You place your bowl uncovered, inside a plastic bag and tie it so that the top of your dough won't harden.
You can leave it outside up to 6 hours OR in fridge up to 4 days
- Minimum time outside is when it doubles its size, and when you press with your finger, dough bounces back!
- Score the bread with a sharp blade or knife the way you like it (mine above).
- Pre-heat oven to 510 F then lower to 450F when ready to place bread in oven.
- Add an oven-safe container with about 1/2 cup of water on lower rack of oven.
- Place bread on a pizza tray and put it on middle rack.
- Add few sprays of water on top of bread...or sprinkle with hands.
- Cook for about 15 minutes with water inside, then remove container with water from oven, and turn bread around inside the oven, so it can cook evenly on all side.
- Remove when it looks golden and ready...another 15-20 minutes.


 RSS Feed